Thursday, December 29, 2011

Christmas Cookies

On the docket for Christmas cookies this year:

  • Glittering Lemon Sandwich Cookies (instead of lemon, used candy canes to make them minty)
  • Lemon Bars (these don't look like much in the photo below, but they are a HIT)
  • Perfected Chocolate Chip Cookies
  • Melted Snowmen Sugar Cookies
  • Martha Stewart Holiday Fudge
  • Stamped Sugar Cookies (using stamps from Williams Sonoma)
I baked every night for a week to get everything done. It was exhausting, but mostly a success. 

I've made the sandwich cookies before, and got a bit big for my britches... I didn't space the sandwich halves far enough apart on the cookie sheet, so some were stuck together after baking and crumbled when I tried to separate them. 

This is the first year I made Martha's holiday fudge recipe, and I think it's a keeper... but we'll see when I want to do it next year. It's a cheater fudge recipe (i.e. uses marshmallows). Authenticity isn't my concern as much as the lightness of the fudge. It was yummy, but not quite as dense as I prefer my fudge to be.

And I may go back to regular sugar cookies with royal icing for next year. The WS stamps were a cute novelty item (albeit pricey!), but I want sugar cookies to have a big, thick, sugary layer of icing, which you couldn't do with stamped cookies, lest you lose the stamping effect.


Merry Baking!
Madcap J

Monday, November 7, 2011

Monthly Madcap Challenge: Pie Edition

Running just a wee bit late this month, but I finally had the time and a reason to make a pie. I don't think I've mentioned this to either of you before... I'm really quite intense about pie making. My roommate's mom taught me her pie crust recipe, and for the past two years, on March 14, I have had a Pi Day Open House (i.e. an excuse to have friends over to eat pie in all forms all day long).

I haven't made a pie since last March, so I knew I'd be a little rusty. I wasted some of the crust when I rolled it out. And the "decorative slits" on the top crust weren't planned out very well. It looked like a serial killer was taking some slashes at the pie. I should have done a lattice crust, which I've never done before. I'll start practicing latticing so I can do it well next Pi Day.

I also read a tip on the Interwebs that I was excited to try. Take your trusted pie crust recipe, and substitute vodka for water. I assumed this would ever be a bad idea. The science behind this idea is that gluten doesn't form in alcohol. Less gluten in the crust means more of the liquid will burn off. End result: flakier crust. (Bonus: I'm making a pie and feel like I deserve to have a glass of vodka on the rocks whilst covered in flour.)

Okay, so I'm not sure if it was the placebo effect, or what... But the crust was amazing. I think it was levels beyond the quality of crust that I've made before. My plan is to make two of the same flavor pies but with a water crust for one and a vodka crust for the other next week or for Thanksgiving, and to do a taste test with the two crusts.

The filling itself was also lovely. I just used a Triple Berry recipe from allrecipes.com. Basically just the berries, flour, cornstarch, sugar, cinnamon and nutmeg. It was my first time making a berry pie. It will not be my last.

In Pi(e) we trust -
Madcap J


Monday, October 17, 2011

A Thanksgiving Alternative: Pumpkin Chai Tiramisu

After only marginal success with the pumpkin roll, I decided that rather than risk another fail on Thanksgiving day, I’d keep searching for the perfect dessert. You guys, I found it! I’m particularly excited because I made this recipe my own, which is something I rarely do with baking.

While I’ve seen recipes for Pumpkin Tiramisu and recipes for Chai Tiramisu, I’ve yet to see one that combines the two. When I looked up pumpkin tiramisu recipes, some used coffee as the soaking liquid and some used straight booze, both of which seemed to miss the mark for me in terms of flavor pairings. After a little brainstorming I had that lightbulb moment: Use chai. Its rich flavor and spiciness are the perfect pairing for the bright pumpkin flavor.

Take a peek:


I used a Cooking Light Tiramisu recipe as my base and doctored it with fall flavors. As you can see, the original recipe strays quite far from a traditional tiramisu - no mascarpone and whipped topping! – so if you’re a purist, you may disapprove. However, I’ve made the recipe many times before and have found it so tasty and foolproof, that I use it every time (with some slight modifications in technique).

Here’s my doctored recipe. For Thanksgiving, the only change I might make is replacing the white rum with a dark rum or maybe even a spiced rum! The rum was fine, but a little splash of Captain Morgans couldn’t hurt, right? Now that I know this works with pumpkin, I want to make other versions. I think you could adapt it for any season. Doesn’t coconut and Malibu sound divine?

In the meantime, here’s the pumpkin chai tiramisu recipe. My tweaks are in bold:

• 1 cup cold water
• 1 (14-ounce) can fat-free sweetened condensed milk
• 1 (1.4-ounce) package sugar-free vanilla instant pudding mix
• 1 (8-ounce) block 1/3-less-fat cream cheese, softened – reduced to 3 ounces
• 1 (8-ounce) tub frozen reduced-calorie whipped topping, thawed
• 1 cup hot water
• 1/2 cup KahlĂșa (coffee-flavored liqueur) – replaced with light rum. Could use dark or spiced rum
• 1 tablespoon instant espresso – replaced with 2 fragrant Chai tea bags (like Tazo)
• 24 soft ladyfingers (2 [3-ounce] packages) replaced with 3 sleeves hard ladyfingers
• 3 tablespoons unsweetened cocoa, divided
• 1 cup canned pumpkin
• 1 ¼ teaspoons cinnamon, divided
• Combine a dash nutmeg, ginger, and cinnamon to form 1/4 teaspoon, or use pumpkin pie spice.

Combine first 3 ingredients, plus ¾ cups pumpkin in a large bowl, beat on low until combined. Cover surface with plastic wrap; chill 30 minutes or until firm.

Remove plastic, and beat in cream cheese, remaining pumpkin, 1 teaspoon of cinnamon, plus the spice blend. Beat with a mixer at medium speed until well blended. Gently fold in whipped topping.

Steep teabags in hot water for a few minutes. Discard bags and combine tea with rum in a wide, flat bowl. Start dipping each ladyfinger individually in the chai mixture, turning on each side until well soaked. Place the ladyfingers on the bottom of a 9x12 dish until dish is covered in a single layer of cookies.

Spread one-half of the cream evenly over ladyfingers. Put the remaining ¼ teaspoon cinnamon and the cocoa powder in a sifter or small sieve. Sift about 1/3 of mixture over the first cream layer. Repeat layers, ending with cocoa. You should put about 2/3 of the cocoa on the top, so it is completely covered and no cream shows. Cover and chill at least 8 hours (I think overnight is ideal).

Here's a few more pics of the dessert in progress. Make it!

Happy Fall!
Madcap B

Wednesday, October 12, 2011

November Challenge is...Pie!

It's hard to believe that Thanksgiving is just six weeks and a day from today. In honor of that, I've decided to go traditional for November's baking challenge and there's nothing more traditionally Thanksgiving than pie. So in the coming weeks, let's roll up our sleeves, get out the food processor, and stock up on Crisco.

In the meantime, I still have pumpkin to use up, so expect more pumpkin coming this way.


A little pie inspiration, courtesy of the internet.
Happy baking!
Madcap B

Monday, October 3, 2011

Pumpkin Cake Roll - Three times a 'charm'?

Okay, so I’m glad to see I wasn’t the only one with problems this time around. Of course, I hate to fail at baking and I love to eat cake, so I just kept baking until I got it right.

My chosen assignment was Pumpkin Roll. I was kind of approaching this as a Thanksgiving dry run, since I just found out I’m hosting Turkey Day this year. However, based on my experiences, I’m not sure this is ready Thanksgiving just yet. It took three tries to make a table-worthy cake.

The baking was a breeze. The rolling was a breeze. Where I ran into trouble with the first two was the unrolling, filling, and re-rolling. The cake kept adhering to the towel, even after a heavy dose of powdered sugar. So for version three, I switched to parchment paper, which peeled right off.

Cracking was also an issue with early versions. When I unrolled my first cake, I developed a pretty large fissure down the center. The second time was an improvement, but still had a few breaks. By the third cake, I finally got a crack-free cake, which I attribute to the parchment.

The husband loved every one – cracks or no cracks – so overall this is a winner on the taste front. Instead of using cream cheese filling, I decided to make a lighter frosting a) to save on calories and b) because the husband doesn't like cream cheese icing (I, know right?). I liked the cooked frosting –  it was kind of Ho Ho-esque.

I used this recipe for the cake and this recipe for “Not Seven Minute” Icing, which produced a light, marshmallowy cream. I didn’t have allspice, so I blended ginger, nutmeg, and cinnamon with good results.

Here's the first attempt, using the towel:

Here it is rolled. You can't see the crack too much, but trust me - it's there.

Here's a view of the parchment roll. MUCH better.

And finally, a cross section.


I’m still considering this for Thanksgiving, but I don’t think I’d dare using a kitchen towel again to roll. Still, if you want a challenge that doesn’t require many ingredients, I’d give this a shot.

- In failing solidarity,
B

Friday, September 30, 2011

Pumpkin Challenge: Cheesecake Armageddon

Well folks, I am just going to lay it out there: my pumpkin challenge was a complete and utter disaster.  I should have known it wasn’t meant to be when canned pumpkin was not available at the grocery store because of a pumpkin shortage.  But as luck would have it, my mom was coming into town and she happened to have a couple cans of pumpkin she was able to bring with her.  Crisis one averted.  Unbeknownst to me, there were to be many (many) more crises on the road ahead.

Initially, I had planned on making pumpkin bars with cream cheese frosting.  Delicious, safe, cream cheesy pumpkin bars….  Then, as I was flipping through my copy of Williams-Sonoma’s “Holiday Entertaining” (which, by the way is an AMAZING book), I saw it.  A recipe for Ginger Pumpkin Cheesecake.  I had to try it.  It looked too delicious to let it remain in the pages of a book, two-dimensional.  Looking back, leaving it as a pretty picture in a book may have been a better course of action.

The first step in making this cheesecake was making the crust, which consisted of crushed gingersnaps, crushed walnuts, a little sugar, and melted butter.  Easy peasy.  Except when you can’t find the base of your food processor (which you later remember is at your sister’s house).  I thought “No big deal, I’ll just crush the gingersnaps and walnuts by hand.  How hard could that be? How long could it possibly take?”   I grabbed a serving spoon planning to crush with the back of it, and headed into the living room to watch some Glee as I crushed.  The spoon could not have been less effective.  Instead I had to use a giant, heavy, mug which worked much better.  Even with the incredible crushing power of the mug, it took me an entire episode of Glee, PLUS half an episode of New Girl just to crush the gingersnaps.  I moved on to the walnuts, during which I finished New Girl and started Up All Night (which, as a side note, I’m not loving so far).  Finally, after an hour and 45 minutes, everything was crushed.  However, the baby was awake and I no longer had time to finish the cheesecake that day.  I covered the gingersnaps and walnuts, and headed off to change a diaper.

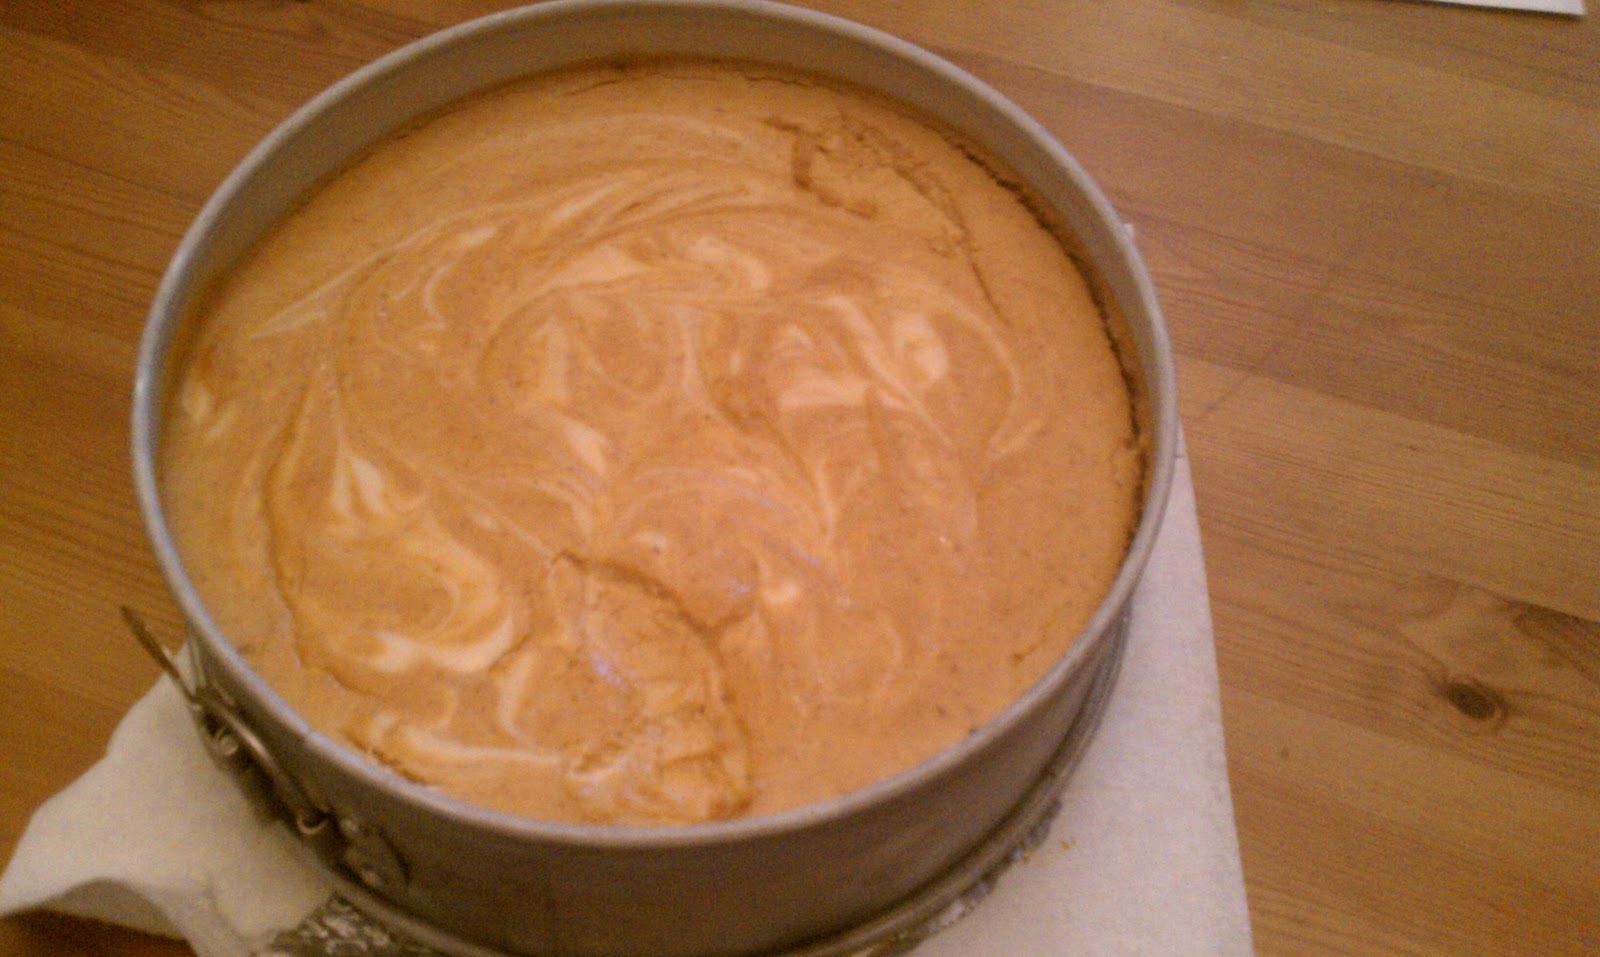
Flash forward to the next morning.  I was ready, I was excited, today was the day!  I would get that flipping cheesecake done if it killed me!  Things started out well.  The crust was mixed, patted into the pan, and baked.  I started on the filling, which was going swimmingly until I got to the pumpkin (that F-ing pumpkin).   The recipe called for either 26.5 oz or 830g of pumpkin puree.  Well, the can I had said that it was 29oz/822g.  So in ounces it was too much, but in grams too little.  After careful consideration, I just dumped the whole can in thinking I would “split the difference” even though that makes absolutely no sense.  Right after I’d mixed the pumpkin in, I looked at the directions again and realized it also said “3 ½ cups” of pumpkin.  So, probably I should have just used that measurement.  Too late.  Everything was ready to go.  I poured the cheesecake into the crust, put the pan into its water bath to bake, and sat back with my fingers crossed. 

I knew something was wrong the first time I peeked at the cake.  Its water bath was a very pumpkiny shade of orange.  Clearly, the cake was oozing out the bottom of the springform pan.  So, here’s my question:  the recipe says to wrap the pan in foil, which I did.  I assumed it had to do something with how the cake baked, but was it actually to keep the water from getting in?  Because IT DIDN’T SAY THAT.  Clearly, if I had known that was the purpose, I would have made more of an effort to make it water-tight.  Otherwise, I just have a shitty springform pan I guess.  I let the cake keep baking, although it was not cooking like I thought it should.  I left it in for an extra 25 minutes because it kept looking too soupy (too much pumpkin, or water seeping in the bottom? I’ll never know for sure).  Finally I took it out, confirmed that the bottom was soaked, and stuck it in the fridge praying that a miracle would occur.

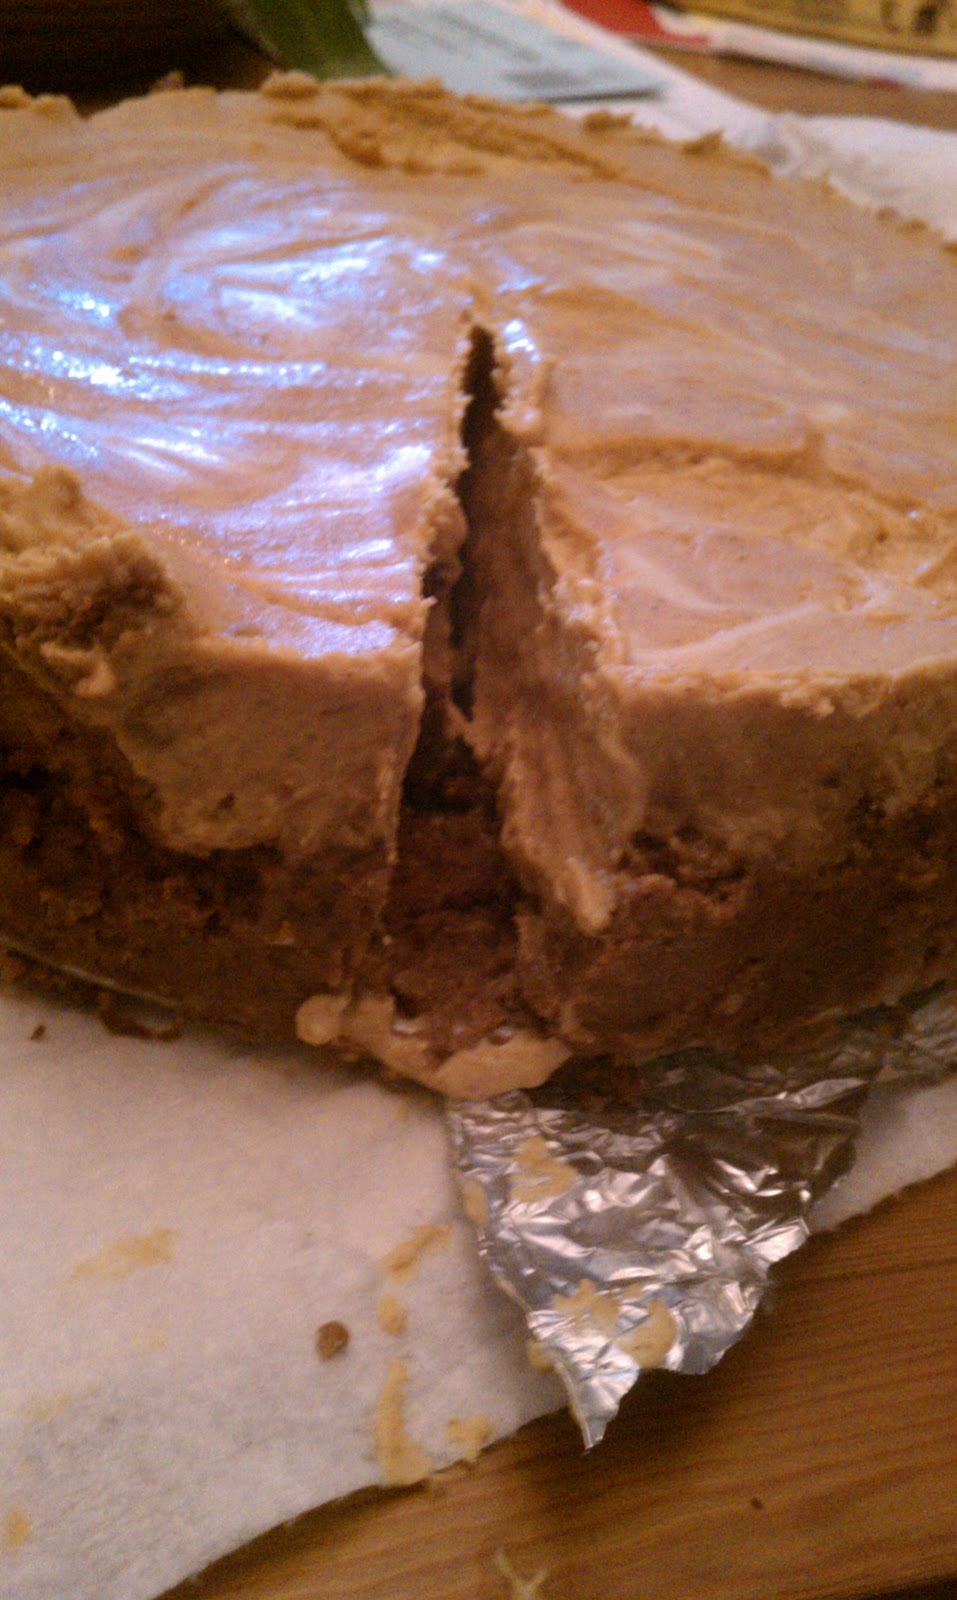
This morning, I removed it from the fridge and it actually looked okay.  I thought that maybe it turned out after all. 


I poked the top with my finger: pretty solid.  I tried to unlatch the side of the pan and take it off.  That pulled the cake apart.  So I went around the side with a knife and tried again.  Not so pretty, my friends, BUT it still looked like a cheesecake, homely or not.  


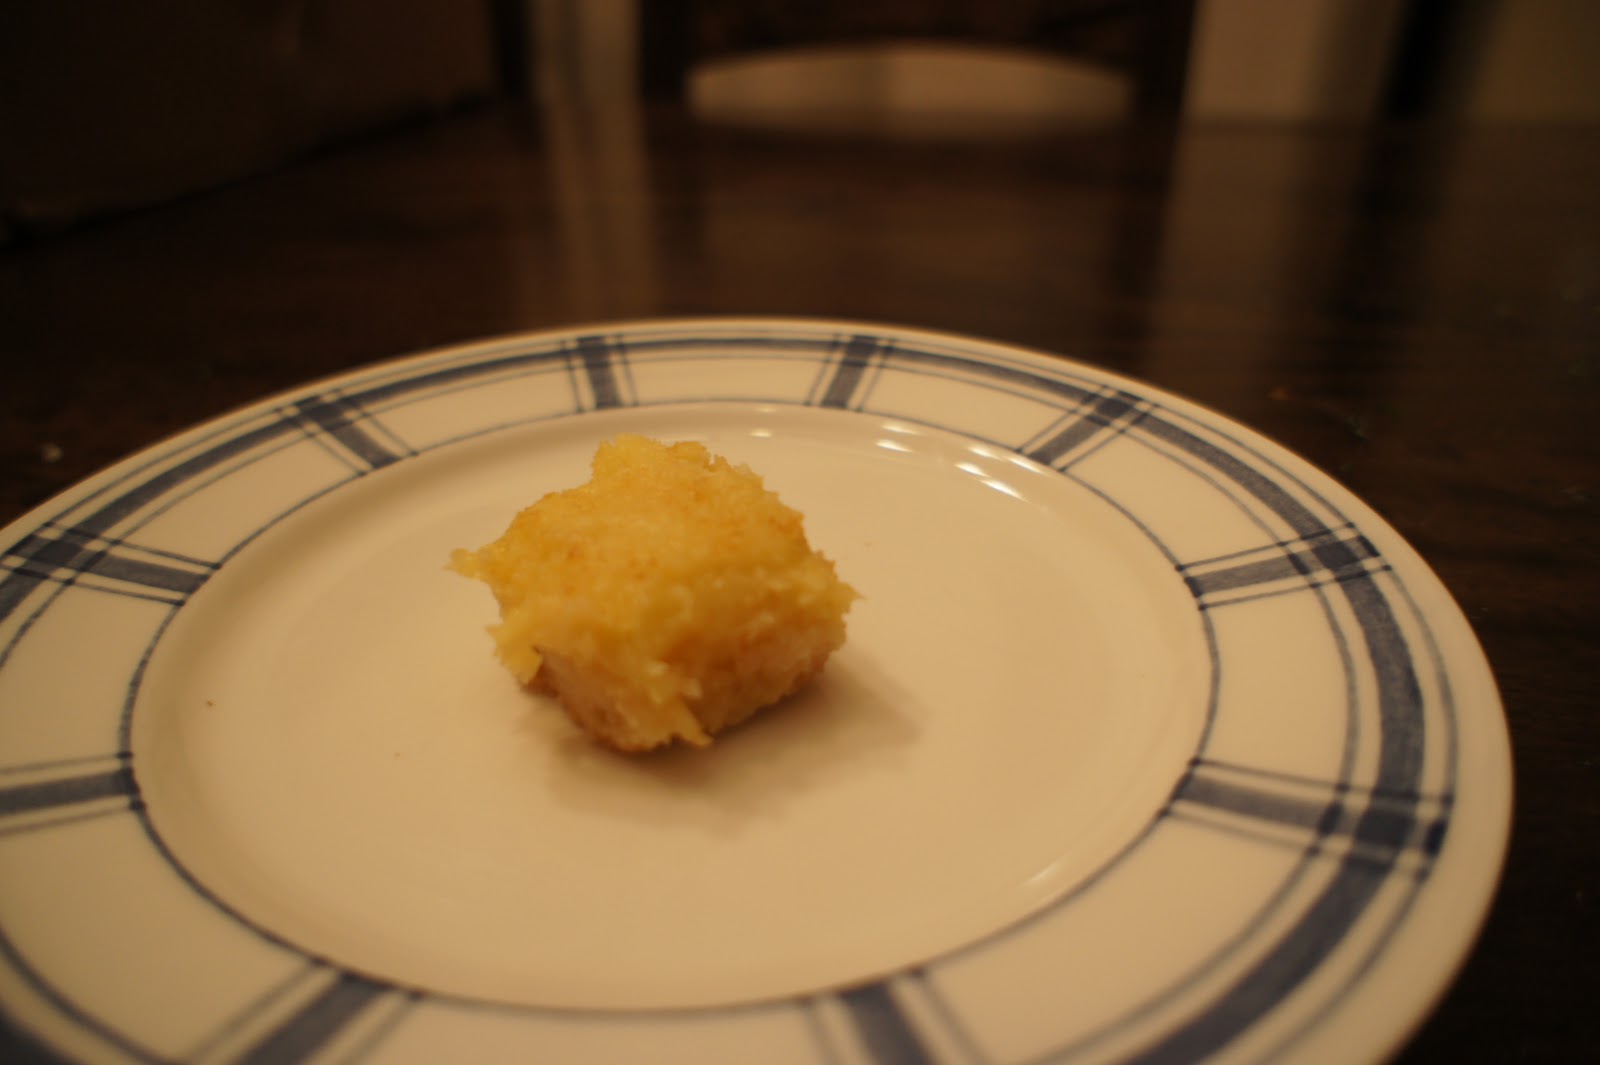
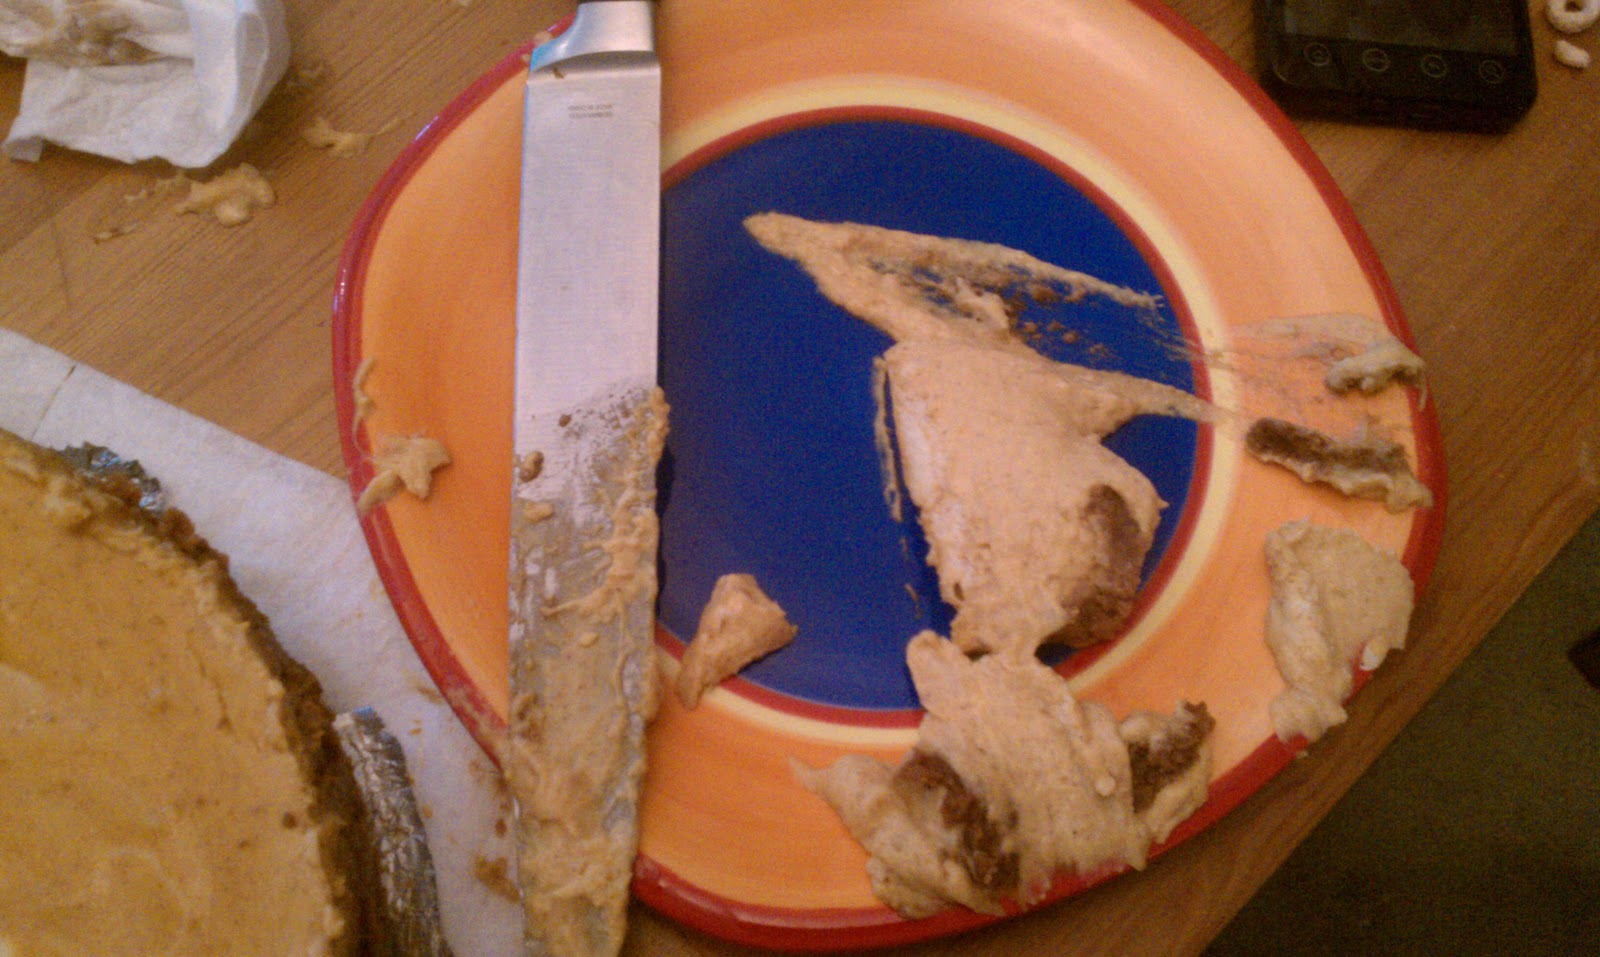
Then, the true test.  I cut into it.  FAIL.  It was a smooshy mess. 


Noooooooo!  All that time… all that delicious cream cheese, WASTED!  I sort of want to cry when I remember how long crushing those gingersnaps took.  But, I vow to try this recipe again within the month.  And next time it will be better.  Because I’m making my mom help me.
PS My camera also ran out of batteries and I couldn't find the charger.  So I had to use a cell phone to take these pics.  Sigh.  October Madcap Challenge = Fail on Every Level.

Tuesday, September 27, 2011

Monthly Madcap Challenge: Pumpkin Edition

Our first Monthly Madcap Challenge was pumpkin! I spent all week making super colorful Halloween cookies, so I dialed it down a notch and went with pumpkin bread. A few months ago, a friend gave me a bag of Amish Friendship Bread starter. It's awesome. It's basically a chain letter, but with very moist breakfast bread. You get a bag of yeast starter, let it ferment for 10 days, make the bread, keep a bag of starter for yourself, give starter bags to your friends, and so it goes. It's possible to make bread every 10 days, but if you can't make it that often, you can even freeze the starter at anytime and just bake when it's convenient for you. The standard recipe is great, cinnamony, sugary goodness. But for me, the real fun is taking the original recipe and adapting it to whatever flavors I feel like tossing into bread. I figured it would be a great way to make use of our monthly challenge ingredient: pumpkin.

Pumpkin Bread (Amish-style)

2 c flour
1 c brown sugar
3/4 t salt
1½ t baking powder
½ t baking soda
1 c Amish bread starter
1 c sugar-free applesauce
¼ c skim milk
3 egg whites
1 egg
1 t vanilla extract
15 oz. canned pumpkin puree
1 c chopped walnuts
1 4-oz package of Jell-o flan-flavored pudding mix - comes with a packet of pudding mix, and a packet of caramel sauce
1 t cinnamon
3/4 t nutmeg
½ t ground cloves
½ t pumpkin spice
¼ t ground ginger
extra cinnamon / sugar for sprinkling

Only use non-metal bowls and mixers for the bread. You can bake the bread in a metal pan, but no other metal should touch the batter during the mixing process.

Preheat oven to 325. Mix all ingredients in a bowl, except the caramel sauce packet.

Grease two large loaf pans. I use two casserole dishes, which results in more surface area per piece, and therefore more cinnamon / sugar to bread ratio. Dust pans with ½ c sugar and some cinnamon. Drizzle the caramel sauce in the pans.

Put batter in pans, sprinkle with more sugar and cinnamon.

Bake 1 hour. Cool 15 minutes. Remove loaves from pan and serve warm or cold.


Until next time - 
Madcap Baker J